
Earlier I had setup a deep learning VM in GCP from scratch but it gave me a few issues:
- Not able to run vicuna with NVIDIA P100 GPU
- I installed CUDA 12.1 (latest at time of the writing) which was incompatible with GPTQ-for-Llama / AutoGPTQ. The max CUDA version supported by GPTQ-for-LLama / AutoGPTQ is 11.8 (at time of writing)
So I tried installing another VM. Making notes to help me out next time. This time I noted down the shell command which is like this:
#!/bin/bash
#https://cloud.google.com/compute/docs/gpus#a100-gpus
gcloud compute instances create deep-learning-a100 \
    --project=xxx \
    --zone=us-central1-f \
    --machine-type=a2-highgpu-1g \
    --network-interface=stack-type=IPV4_ONLY,subnet=subnet-a,no-address \
    --maintenance-policy=TERMINATE \
    --provisioning-model=STANDARD \
    --service-account=xxx-compute@developer.gserviceaccount.com \
    --scopes=https://www.googleapis.com/auth/cloud-platform \
    --accelerator=count=1,type=nvidia-tesla-a100 \
    --create-disk=auto-delete=yes,boot=yes,device-name=deep-leearning-a100-boot-disk,image=projects/ml-images/global/images/c0-deeplearning-common-cu113-v20230615-debian-11-py310,mode=rw,size=100,type=projects/xxx/zones/us-central1-f/diskTypes/pd-balanced \
    --create-disk=device-name=deep-leearning-a100-data-disk,kms-key=projects/xxx/locations/us-central1/keyRings/compute_keyring_uscentral_1/cryptoKeys/compute_cmek_symmetric_hsm_uscentral-1,mode=rw,name=deep-leearning-a100-data-disk,size=1024,type=projects/xxx/zones/us-central1-f/diskTypes/pd-balanced \
    --no-shielded-secure-boot \
    --shielded-vtpm \
    --shielded-integrity-monitoring \
    --labels=goog-ec-src=vm_add-gcloud \
    --reservation-affinity=any
What it does: provision a a2-highgpu-1g VM that comes with NVIDIA A100 40GB GPU and 85GB RAM. The VM is provisioned in us-central1-f and I also attach a data disk of size 1024GB. The data disk is encrypted with a customer managed encryption key that I created separately. I do not assign any public IP to the VM and use an internal IP. The OS image used to bootstrap the VM is c0-deeplearning-common-cu113-v20230615-debian-11-py310. This gave me Debian 11 with Python 10, git, virtualenv and CUDA 11 pre-installed. I have also given https://www.googleapis.com/auth/cloud-platform scope to the VM which allows applications running on it to access any Google Cloud API.
When I ssh-ed to the VM for the first time I saw this message which was misleading:
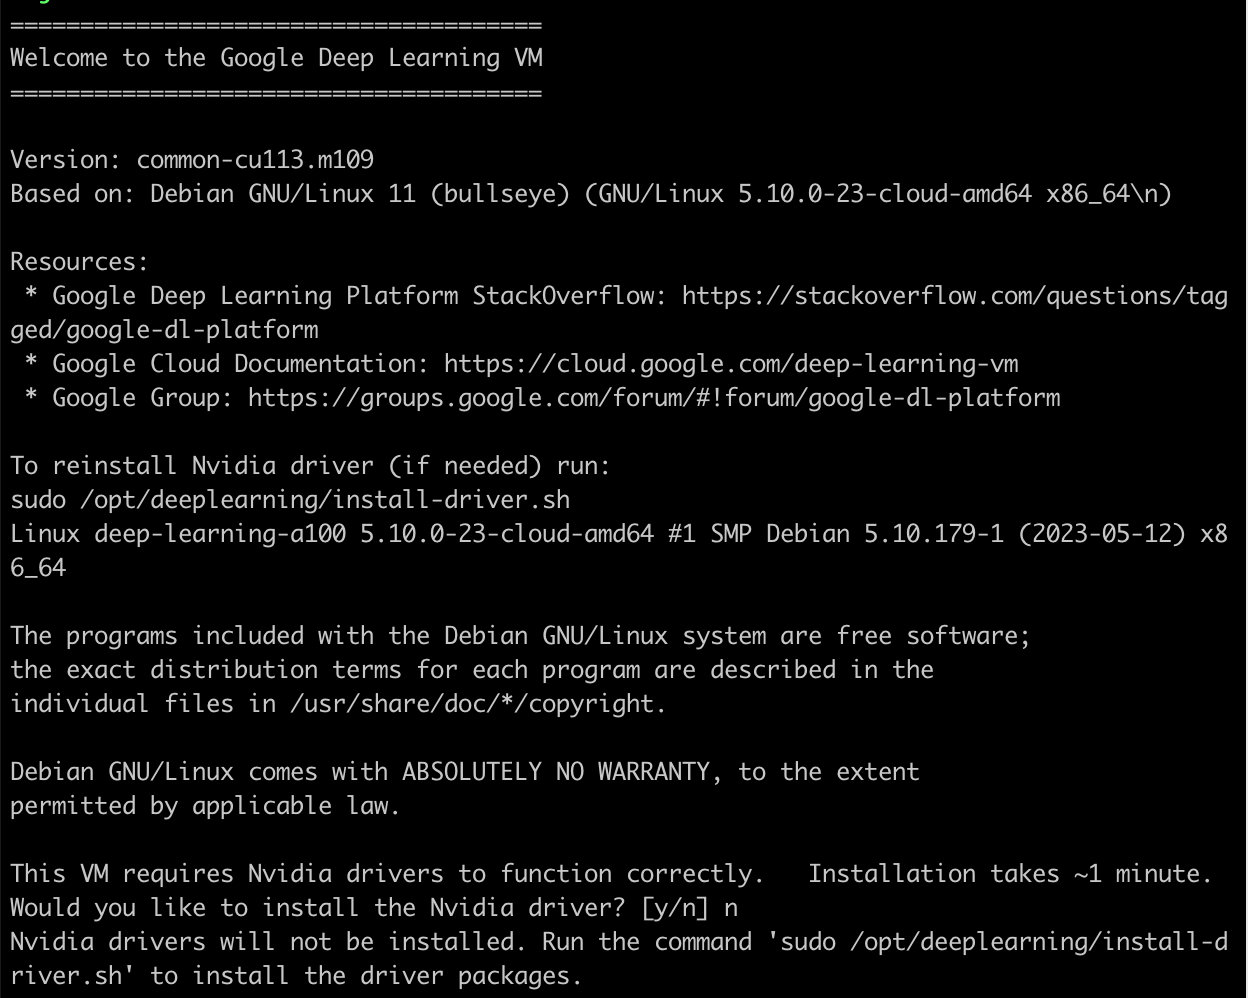
I did not have to install any drivers. The drivers were already pre-installed in /usr/local/cuda. The nvcc compiler is installed in /usr/local/cuda/bin/nvcc and the nvidia-smi program is installed in /usr/bin/nvidia-smi.
$ nvcc --version
nvcc: NVIDIA (R) Cuda compiler driver
Copyright (c) 2005-2021 NVIDIA Corporation
Built on Mon_May__3_19:15:13_PDT_2021
Cuda compilation tools, release 11.3, V11.3.109
Build cuda_11.3.r11.3/compiler.29920130_0
$ nvidia-smi
Fri Jun 23 17:14:49 2023
+-----------------------------------------------------------------------------+
| NVIDIA-SMI 520.61.05    Driver Version: 520.61.05    CUDA Version: 11.8     |
|-------------------------------+----------------------+----------------------+
| GPU  Name        Persistence-M| Bus-Id        Disp.A | Volatile Uncorr. ECC |
| Fan  Temp  Perf  Pwr:Usage/Cap|         Memory-Usage | GPU-Util  Compute M. |
|                               |                      |               MIG M. |
|===============================+======================+======================|
|   0  NVIDIA A100-SXM...  Off  | 00000000:00:04.0 Off |                    0 |
| N/A   43C    P0    58W / 400W |      0MiB / 40960MiB |     27%      Default |
|                               |                      |             Disabled |
+-------------------------------+----------------------+----------------------+

+-----------------------------------------------------------------------------+
| Processes:                                                                  |
|  GPU   GI   CI        PID   Type   Process name                  GPU Memory |
|        ID   ID                                                   Usage      |
|=============================================================================|
|  No running processes found                                                 |
+-----------------------------------------------------------------------------+
Even with no process consuming GPU I see 27% usage which is a bummer. This did not happen with P100 GPU. Is it because Jupyter is running behind the scenes? I think the error message:
This VM requires Nvidia drivers to function correctly.   Installation takes ~1 minute.
Would you like to install the Nvidia driver? [y/n] n
happens because even though the drivers are installed, they are not there in the PATH. To add them to the PATH, I edited ~/.profile like so:
export TRANSFORMERS_CACHE=/app/.cache
export HF_DATASETS_CACHE=/app/.cache

# https://docs.nvidia.com/cuda/cuda-installation-guide-linux/index.html#environment-setup
export PATH=/usr/local/cuda/bin${PATH:+:${PATH}}
export LD_LIBRARY_PATH=/usr/local/cuda/lib64${LD_LIBRARY_PATH:+:${LD_LIBRARY_PATH}}
In above I am also overriding the default locations which hugging face and transformers will store their assets. This brings me to /app. The data disk I created gets mounted at /home/jupyter automatically. I saw this when I ran:
$ df -h
Filesystem      Size  Used Avail Use% Mounted on
udev             42G     0   42G   0% /dev
tmpfs           8.4G  448K  8.4G   1% /run
/dev/sda1        99G   39G   56G  41% /
tmpfs            42G     0   42G   0% /dev/shm
tmpfs           5.0M     0  5.0M   0% /run/lock
/dev/sda15      124M   11M  114M   9% /boot/efi
/dev/sdb       1007G   18M 1007G   1% /home/jupyter
tmpfs           8.4G     0  8.4G   0% /run/user/1001
so I created a symlink to /home/jupyter:
$ sudo ln -s /home/jupyter /app
$ sudo chown me /app
I have to say this was a much smoother experience for me. After this, I was able to do deep learning programming as usual. Lessons learnt:
- Do NOT install a version of CUDA that is more recent than what comes with PyTorch. You can see the latest CUDA supported by PyTorch here.
- The OS image
c0-deeplearning-common-cu113-v20230615-debian-11-py310took a lot of the pain out compared to previous time. This gave me Debian 11 with Python 10,git,virtualenvand CUDA 11 pre-installed. Only thing you need to do is add paths to CUDA in your~/.profile.
The only suboptimal thing was the additional disk gets automatically mounted at this weird location /home/jupyter. I guess I can live with that.
