
I have this model of Rasberry Pi
Raspberry Pi 2 Model B (1GB) Basic Starter Kit Includes Raspberry Pi 2 Model B–
To setup NES you need 7-zip and Win32DiskImager
- Download Retropie v4.1
- Extract using 7-zip. This step should dump out a 2GB file or so
- Insert SD card and open Win32DiskImager
- Write the file in step 2 to the SD Card. If you get I/O Error 1117, check if the SD Card is write protected.
- Insert SD card into rasberry pi, plug in ethernet cable, and boot up. If you are using version 4.2 of retropie, you will not see any emulators. Don’t worry follow step 6.
- Transfer ROMS to NES folder over Ethernet. Open windows explorer, go to network. and copy roms to \\retropie\roms\nes
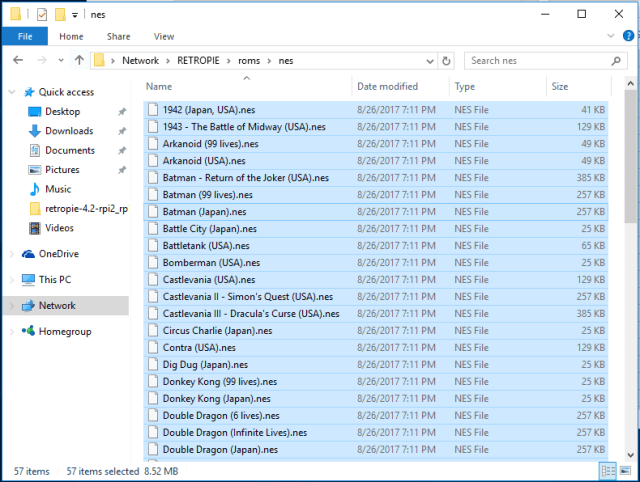
- Restart emulation station to see the games
That’s It! No need to format the SD card etc. in case of problems. Just overwrite the image using step 4.
